
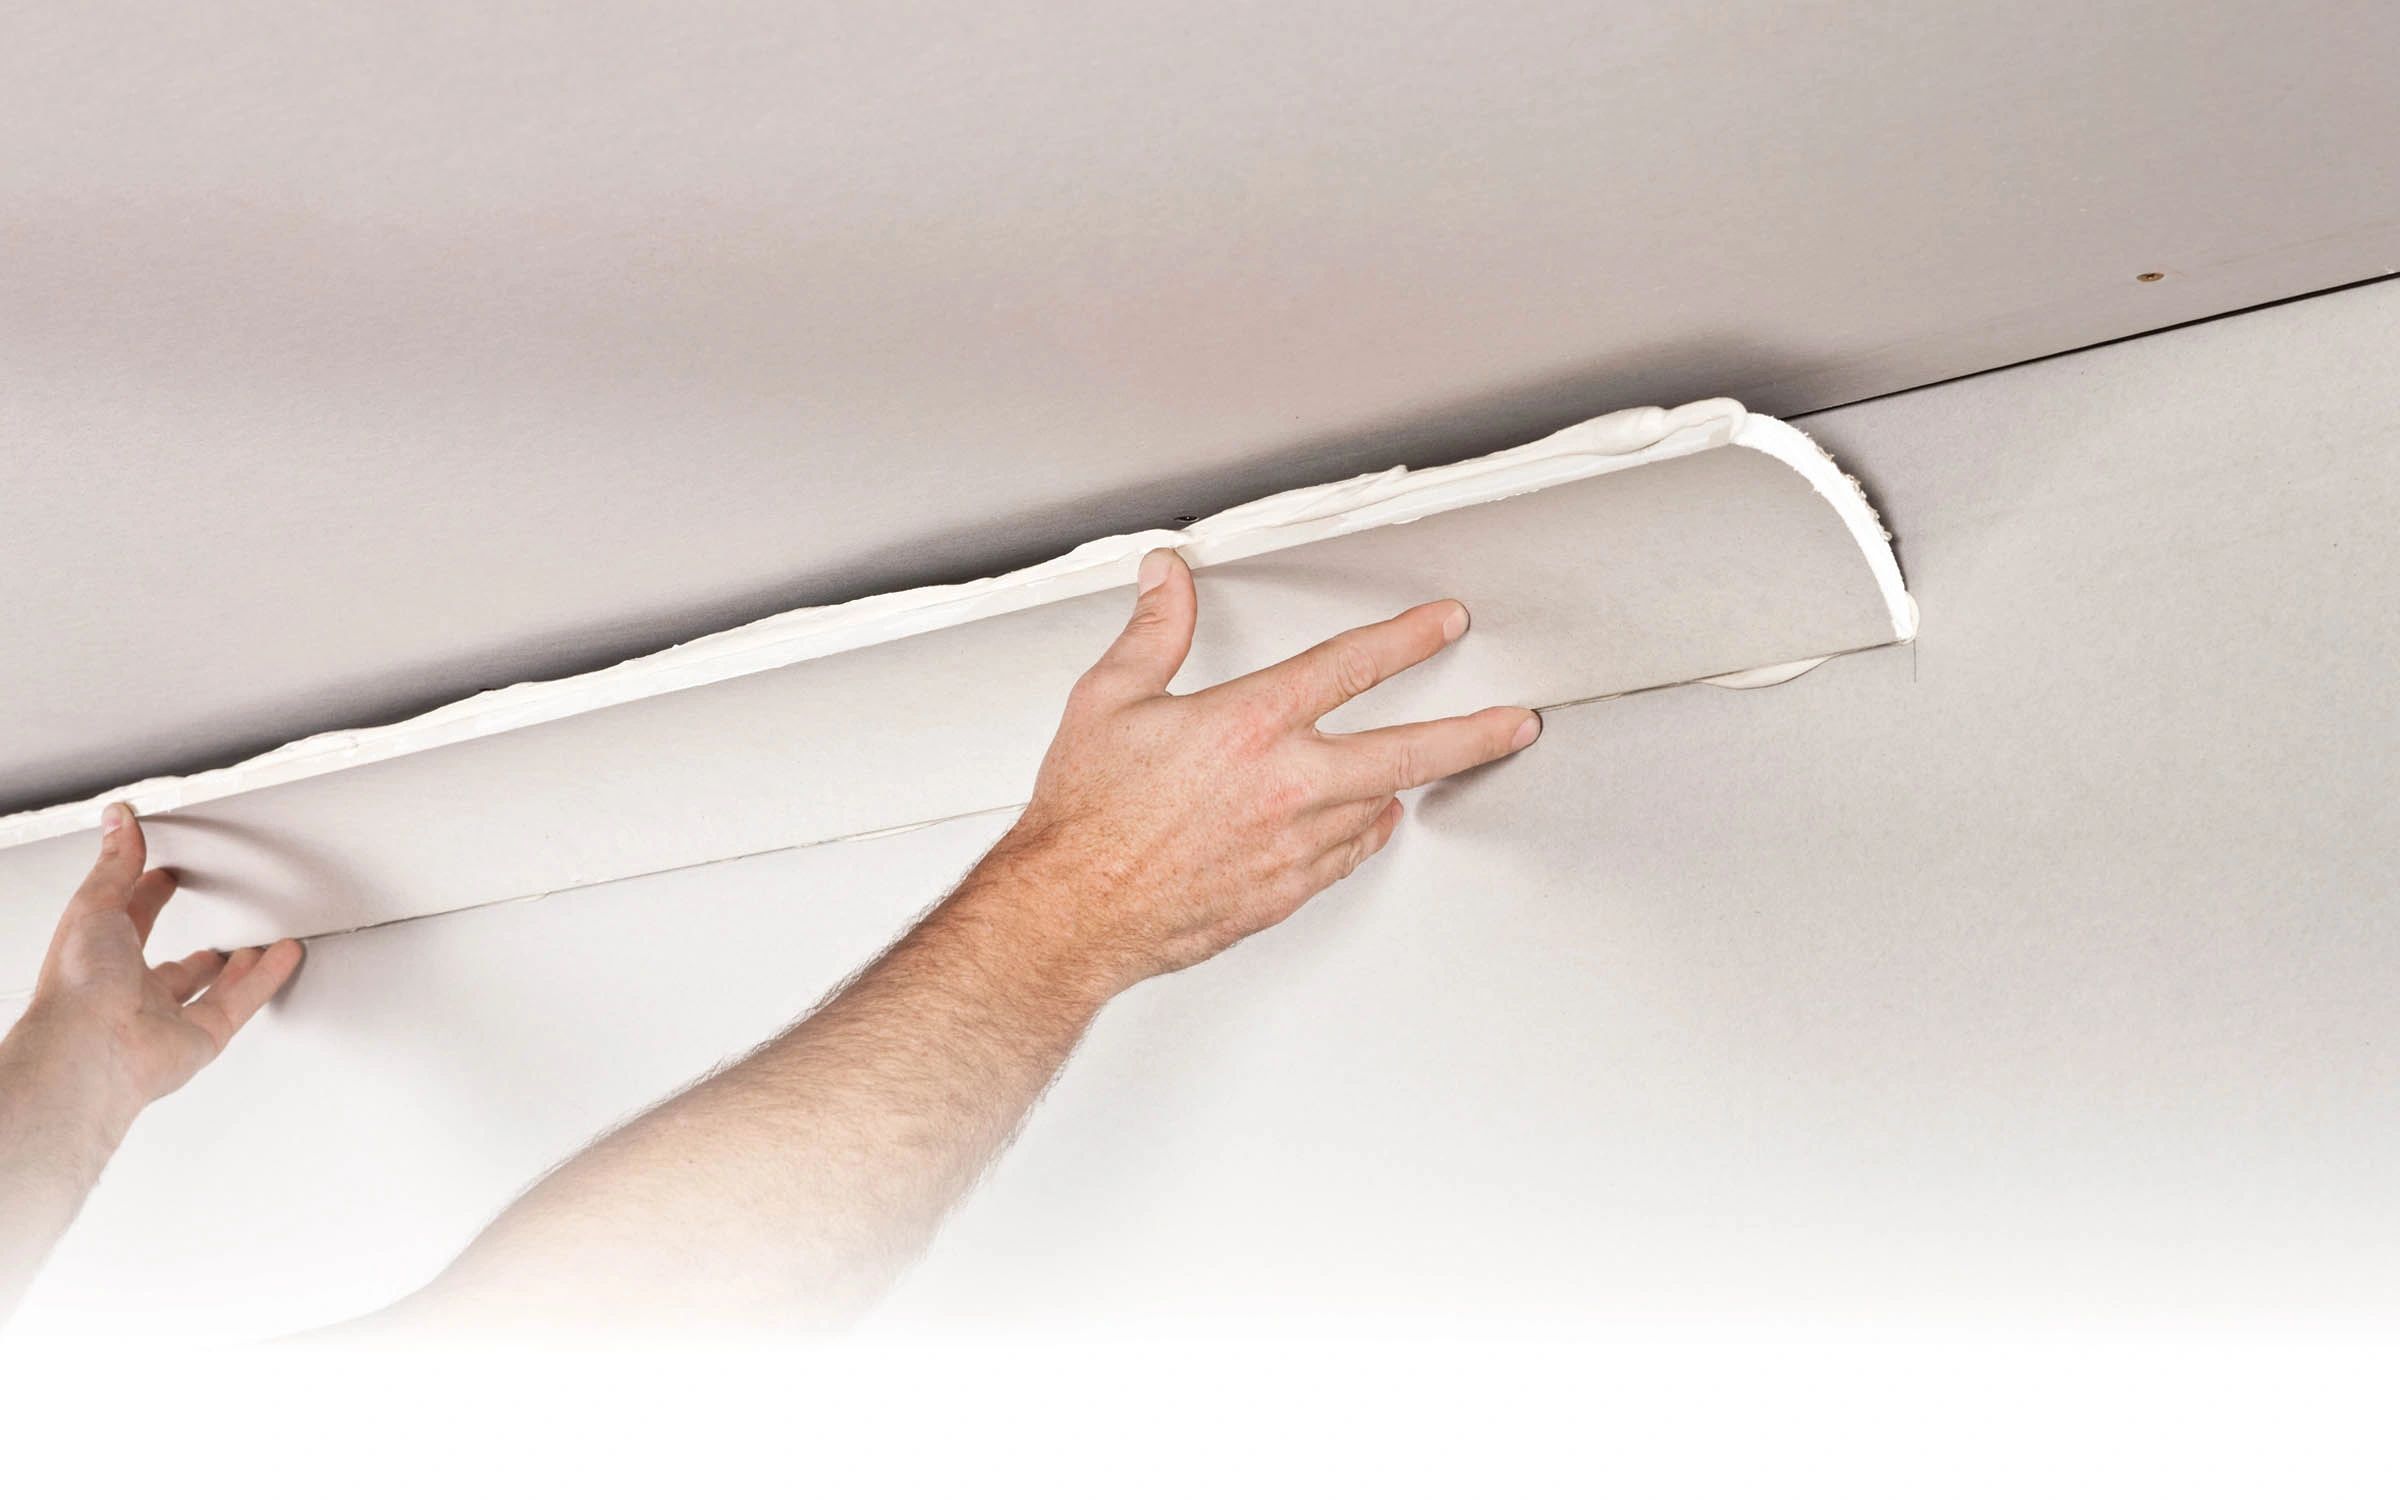
Plaster walls are a common feature in many homes, known for their durability and classic appeal. However, over time, they may develop cracks, holes, or other forms of damage that necessitate repair. Patching plaster walls is an art that requires precision and the right techniques to ensure a seamless finish. This article delves into the top methods for effectively patching plaster walls, providing detailed insights and expert recommendations. Whether dealing with minor imperfections or more significant repairs, these strategies will guide you in restoring your walls to their former glory with precision and expertise.
Understanding the Basics of Plaster Repair
Before embarking on repairing plaster walls, it’s essential to understand the material and its properties. Plaster is a mixture of lime or gypsum, sand, and water, which hardens into a solid, smooth surface. Effective repair requires:
- Identifying the type of plaster used originally.
- Determining the extent of the damage.
- Choosing the appropriate materials for patching.
For a comprehensive guide on assessing and selecting materials, explore advanced guides and tips.
Top Methods for Patching Plaster Walls
1. Small Crack Repair
Small cracks in plaster walls are often due to minor settling or temperature fluctuations. To address these:
- Clean the crack with a utility knife to remove loose plaster.
- Apply a thin layer of patching compound using a putty knife.
- Smooth out the compound and let it dry completely.
- Sand the area lightly until it blends with the surrounding surface.
Find out more about this approach for tackling small cracks with precision.
2. Repairing Holes in Plaster
Holes can be more challenging but are manageable with the right technique:
- Cut a piece of drywall to fit snugly into the hole.
- Secure the drywall patch with a thin layer of joint compound.
- Apply multiple layers of plaster over the patch, allowing each to dry.
- Sand the final layer smoothly to match the wall’s texture.
For more detailed steps, learn about our tailored solutions.
3. Addressing Large Cracks and Sagging Plaster
Large cracks or sagging plaster require a more extensive approach:
- Remove any loose plaster from the affected area.
- Use plaster washers to secure the existing plaster to the lath beneath.
- Apply a bonding agent to improve adhesion of repair materials.
- Layer the repair with new plaster, ensuring each layer is dry before adding the next.
Discover expert strategies here for dealing with extensive plaster damage.
Final Touches for a Professional Finish
Once the repair work is complete, the final step is to ensure the patched area is indistinguishable from the rest of the wall. This involves:
- Priming the repaired area to seal the plaster.
- Painting over the patch, using matching paint for a seamless look.
- Regularly inspecting and maintaining the walls to prevent future damage.
For a detailed guide on finishing techniques, explore advanced guides and tips.
By following these expert methods, achieving a professional and durable repair for plaster walls is within reach. With the right tools and techniques, even significant damage can be addressed effectively, preserving the beauty and integrity of plaster surfaces.
